


How To Install A Hardwired GPS Tracker
Key Takeaways
-
01 Hardwired GPS trackers connect directly to the vehicle battery for continuous uninterrupted power.
-
02 Proper wire placement ensures safe installation without damaging existing vehicle electrical systems.
-
03 Secure hidden mounting locations protect hardwired trackers from detection and physical tampering.
-
04 Testing before final install confirms the tracker is active and transmitting live location data correctly.
-
05 Kill switch GPS trackers let you remotely disable a stolen or misused vehicle from anywhere instantly.
How To Install A GPS Tracker To A Battery In 4 Easy Steps
Did you know hardwiring your GPS tracker to a car provides a seamless tracking experience, minimizing disruptions caused by your tracker's battery dying? By connecting your GPS device directly into your vehicle or asset's electrical system, you ensure consistent, real-time location data. Using a golf cart battery and the SpaceHawk GPS as an example, our master installer created this simple 4-step guide on how to install a hardwired GPS tracker. That way, you can permanently install your GPS device at home without hiring a professional!
Setup and Connection Points

- First, decide where you want to connect the red wire and black terminal. For our guide, we're using a golf cart battery array suitable for six-volt batteries. But you can adapt this to fit your needs.
- Now, gently loosen the bolts at your chosen connection points. Attach the red wire to the positive terminal and the black one to the negative. You're making great progress!
Preparing and Connecting The GPS Tracker
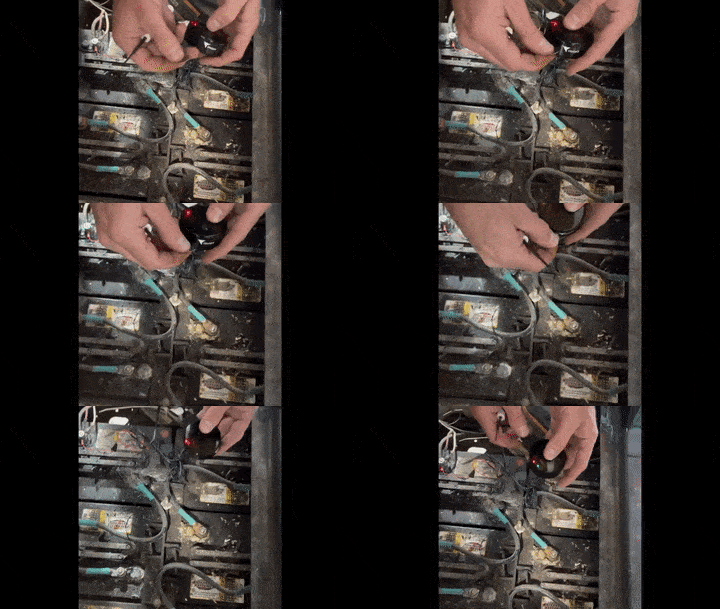
- Remove the rubber cap from your SpaceHawk; you won't be needing it for this permanent setup. Next, pull back the pins at the device's connection point.
- Go ahead and connect the hardwire kit to your SpaceHawk GPS car tracker. When you see a red light, it's a sign your device is charging. Remember, it's just charging, not necessarily powered on yet.
Wiring this into a vehicle right now? Make sure you've got a SpaceHawk on hand before you go any further — the hardwire kit is built specifically for it.
Get SpaceHawk →Activation and Placement

- Grab the pin provided and turn on the device. Those flashing LEDs mean you're powered up and ready. A solid red light? That's your confirmation of a stable connection.
- Tighten the screws on the connector. Ensure they're firm but not overly so to keep that rubber in perfect shape. This step seals the waterproof connection — well done!
- Now, find a spot! Use the built-in magnets to stick it to metal surfaces or get creative with velcro for a super secure fit.
Secure The GPS Tracker & Double Check Everything

- Double-check all your connections to ensure they're tight and that your device sits securely.
- There you have it! Your SpaceHawk is now hardwired, protected from water, and ready to deliver exceptional tracking.
Remember, while our guide uses a golf cart as an example, you can permanently install the tracker to a car, boat or asset. Always prioritize safety when working with electrical systems, and enjoy your enhanced tracking experience!
Don't have your SpaceHawk yet? At $49, it's the tracker this whole guide is built around.
Shop SpaceHawk →Dos And Don’ts Of GPS Tracking Installation
Before we get into the steps of installing a wired GPS tracker, let's first go over some basic dos and don'ts. That way you won't fry your GPS vehicle tracking device or mess up the 12-volt system of your automobile.
What You Should Do
- Read the installation guide thoroughly: familiarize yourself with the necessary steps, tools, and safety precautions before starting.
- Choose a discreet location: select a hidden spot to protect the tracker from tampering or theft — under the dashboard or behind interior panels work well.
- Ensure a strong GPS signal: avoid placing the tracker near large metal objects or other signal-obstructing materials.
- Test the GPS tracker before final installation: power it up and confirm it's transmitting location data correctly.
- Use high-quality components: high-quality connectors, fuses, and wires ensure reliable connections and prevent electrical issues.
What You Should Not Do
- Don't rush the installation: take your time to avoid mistakes or damage to your vehicle's electrical system.
- Don't interfere with other vehicle components: be cautious around existing wiring, airbags, or other critical systems.
- Don't forget to check legal requirements: tracking someone without consent can be illegal in some jurisdictions and result in real consequences.
- Don't skip grounding the GPS tracker: always connect the grounding wire to a secure grounding point on the vehicle.
- Don't ignore potential warranty issues: hardwiring may void your vehicle's warranty — consider an OBD2 or plug-and-play tracker if that's a concern.
Basic Tools For Installing GPS Equipment
Before you begin the installation process of your vehicle locator it is best to have some basic tools readily available. These basic vehicle tracking installation items include simple tools, electrical tape, fleet management system user manuals, a flashlight, and maybe an extension cable.
GPS Unit Placement
- Before drilling any holes or running any wires (as applicable), decide where each hardware component will be located (device, mounting bracket, cable, etc.).
- Locate a suitable mounting location with a clear view of the sky (GPS satellites), preferably above any metal that could obstruct receiving GPS signals. GPS signals can be received through glass and plastic.
- Typically, for vehicles, the unit should be placed near the dashboard of the vehicle to the right of the driver with open exposure to the front windshield. The unit also shouldn't interfere with the vehicle's airbag system in any way.
- Consider the visibility of the LEDs on the unit too, since you'll periodically want to check them to confirm it's working properly.
- Make sure that the device will not be exposed to damage from the sun, heat, rain, moisture, people, or objects.
- Attach the unit to the solid body of the vehicle or asset, not to plastic panels, and be sure that the cables (if any) to the unit are not cut, bent, or constricted in any way. Secure the unit and any excess wire (if applicable) with non-conductive fasteners and ties — making sure not to crimp or flatten the wires. Do not re-use any wire tie that surrounds the cable used in shipping. Do not glue the unit to the dashboard.
Placement matters most once your tracker is actually running. SpaceHawk's magnetic mount handles this step for you — no drilling required.
See SpaceHawk →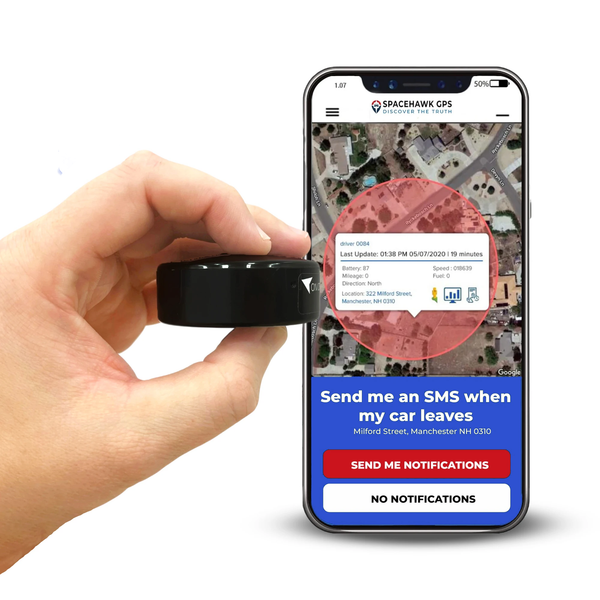
Hardwire Your Own SpaceHawk GPS Tracker
Learn more about GPS asset tracking by visiting online at Fleet1st.io

 Buy on Amazon